6.4L Power Stroke Oil Cooler Relocation Kit –
Oil Cooler Backflush Instructions
If you have the Bullet Proof Diesel oil cooler relocation kit installed on your 6.4L powered Ford Super Duty, take a minute to learn how to properly service your system.
Having the oil cooler relocation kit installed makes replacement of the oil cooler a whole lot easier, but did you know that you can usually get more life out of the oil cooler by backflushing it? When the oil cooler becomes clogged and your oil temps start to go up, you can try backflushing the cooler to clean out the passageways that the coolant flows through. This helps to restore the cooling capacity of the oil cooler so it can properly cool the oil. In most cases you can flush the oil cooler multiple times before a replacement is required. In this article, we will show you how to properly flush the oil cooler when the relocation system is installed.
Step 1. Drain the coolant from the radiator into a suitable container. Putting a hose and adapter on the drain port helps keep the mess to a minimum.
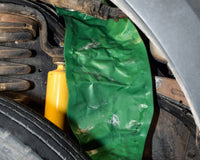
Step 2. Locate the intake elbow between the air filter and the turbocharger. Loosen the clamps on both ends and disconnect the crankcase breather tube. Remove the elbow and set aside.

 Step 3. Identify the ‘coolant in’ and ‘coolant out’ hoses going to the oil cooler. On the engine side, the port marked “coolant out” is the coolant supply to the oil cooler. The port marked “coolant in” is the return from the oil cooler and the hose that you will use to flush through. To properly backflush the oil cooler, we need to run water through the return hose of the oil cooler in reverse of the normal coolant flow. Use a marker to label the hoses IN and OUT.
Step 4. Release the tension from the hose clamps and remove the coolant hoses from the transfer block on the engine.


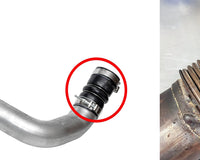
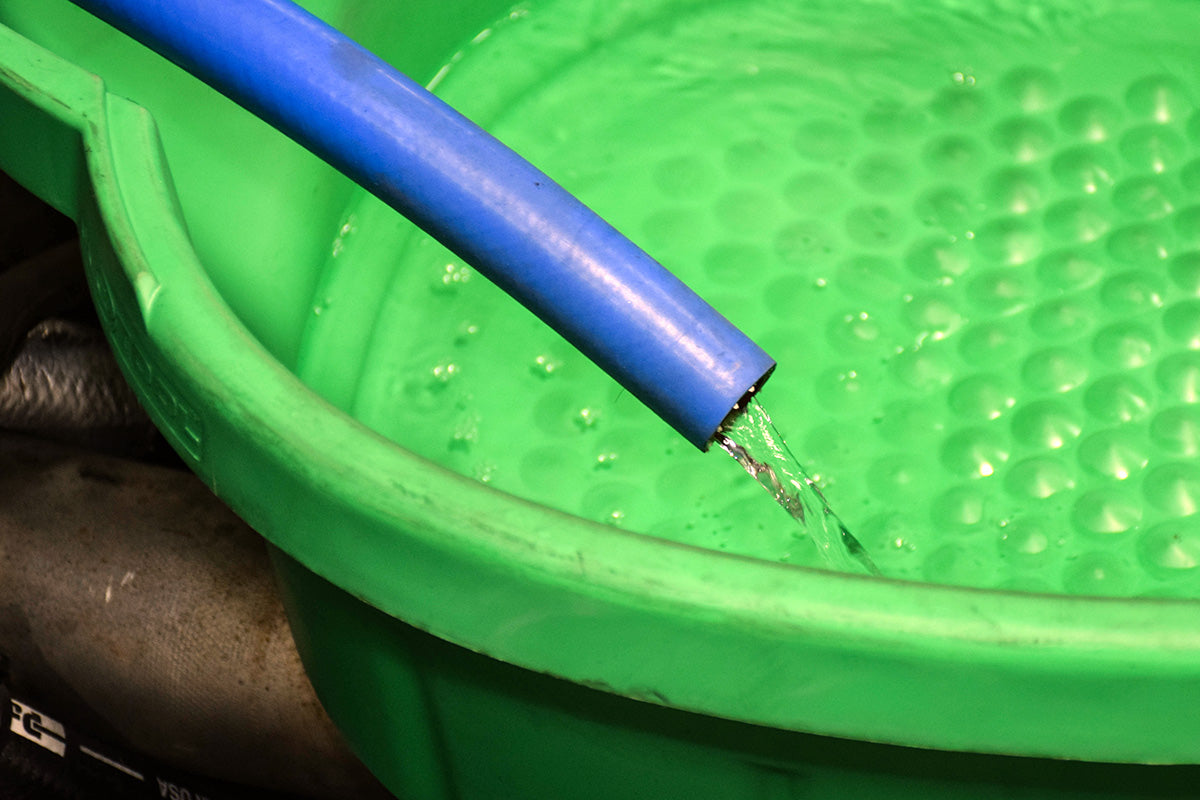
Step 5. Adapt a garden hose to attach to the IN hose. (Flushing tees or brass plumbing fittings work well) Using a clean container or drain pan, place the OUT hose into the container and turn on the water to begin flushing. We used the coupling pictured for our project.


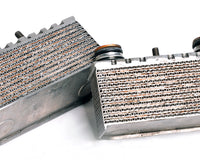
Step 6. Run water through the oil cooler until it comes out looking clean and free of sediment or debris. Repeat as necessary.

Step 7. Once the flush is completed, reinstall the coolant hoses and the intake elbow. Re-fill the cooling system, start the engine, check for leaks and repair as necessary. Once there are no leaks and the cooling system is full, test drive the truck and reinspect. Top off the coolant if needed and you are done!